
Hello, friends Previous post we have learned How To Create CRUD in AngularJS using PHP OOPS and in this article, we are going to learn How To Create CRUD using UI-Router in AngularJS & PHP MySQLi. UI-Router provides state-based routing. Every feature of an application is defined as a state. One state is active at any time, and UI-Router manages the transitions between the states. A state defines a feature’s UI using a view. A view is a UI component, which is placed into a viewport (<ui-view>) when the state is activated.help of UI-Router we are going to create CRUD operation using Angularjs and PHP MySQLi. You can Download Complete Source Code From Bottom of Article.
Getting Bootstrap
Bootstrap can be Download to your needs from their Getting Started page but I would prefer using the CDN option, because it is faster also it is advised to go through and get yourself accustomed with some bootstrap terms, including common classes. This page also some Examples of how to use Bootstrap classes.
Required Libraries
in this source code, we are using AangularJS main library file and Angular-UI-router library file you can use their cdn by follow these links.
1-Creating Database
- Open PHPMyAdmin in your Browser
- Click on Database Tab Display on Topside
- Give the Database name “uirouter”.
- After Creating Database Open it.
- Click on SQL Tab on Top area
- Copy the Below Source Code and paste it.
- Then Click on Go.
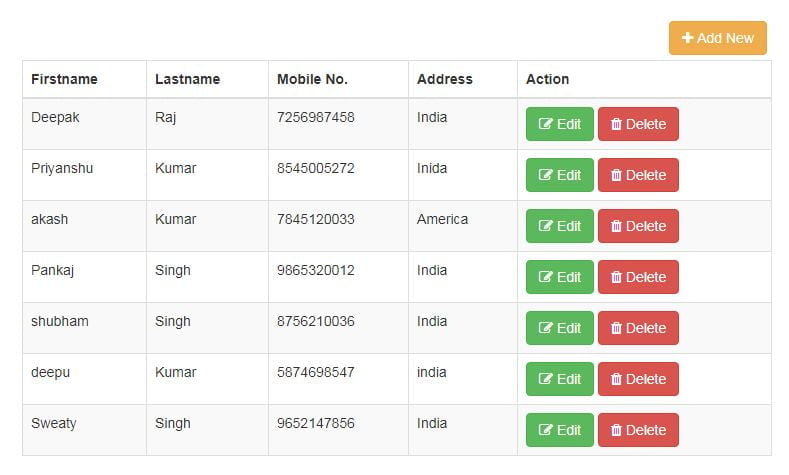
-- phpMyAdmin SQL Dump
-- version 4.8.2
-- https://www.phpmyadmin.net/
--
-- Host: 127.0.0.1
-- Generation Time: Oct 31, 2018 at 09:41 AM
-- Server version: 10.1.34-MariaDB
-- PHP Version: 5.6.37

SET SQL_MODE = "NO_AUTO_VALUE_ON_ZERO";
SET AUTOCOMMIT = 0;
START TRANSACTION;
SET time_zone = "+00:00";


/*!40101 SET @OLD_CHARACTER_SET_CLIENT=@@CHARACTER_SET_CLIENT */;
/*!40101 SET @OLD_CHARACTER_SET_RESULTS=@@CHARACTER_SET_RESULTS */;
/*!40101 SET @OLD_COLLATION_CONNECTION=@@COLLATION_CONNECTION */;
/*!40101 SET NAMES utf8mb4 */;

--
-- Database: `uirouter`
--

-- --------------------------------------------------------

--
-- Table structure for table `members`
--

CREATE TABLE `members` (
  `memid` int(11) NOT NULL,
  `firstname` varchar(30) NOT NULL,
  `lastname` varchar(30) NOT NULL,
  `mobile` varchar(15) NOT NULL,
  `address` text NOT NULL
) ENGINE=InnoDB DEFAULT CHARSET=latin1;

--
-- Dumping data for table `members`
--

INSERT INTO `members` (`memid`, `firstname`, `lastname`, `mobile`, `address`) VALUES
(30, 'Deepak', 'Raj', '7256987458', 'India'),
(31, 'Priyanshu', 'Kumar', '8545005272', 'Inida'),
(32, 'akash', 'Kumar', '7845120033', 'America'),
(33, 'Pankaj', 'Singh', '9865320012', 'India'),
(34, 'shubham', 'Singh', '8756210036', 'India'),
(35, 'deepu', 'Kumar', '5874698547', 'india'),
(36, 'Sweaty', 'Singh', '9652147856', 'India');

--
-- Indexes for dumped tables
--

--
-- Indexes for table `members`
--
ALTER TABLE `members`
  ADD PRIMARY KEY (`memid`);

--
-- AUTO_INCREMENT for dumped tables
--

--
-- AUTO_INCREMENT for table `members`
--
ALTER TABLE `members`
  MODIFY `memid` int(11) NOT NULL AUTO_INCREMENT, AUTO_INCREMENT=37;
COMMIT;

/*!40101 SET CHARACTER_SET_CLIENT=@OLD_CHARACTER_SET_CLIENT */;
/*!40101 SET CHARACTER_SET_RESULTS=@OLD_CHARACTER_SET_RESULTS */;
/*!40101 SET COLLATION_CONNECTION=@OLD_COLLATION_CONNECTION */;
OR Import DB File
After Downloading the source code extract it in your root folder.
- Open PHPMyAdmin in your Browser
- Click on Database Tab Display on Top side
- Give the Database name “uirouter”.
- After Creating Database Open it.
- Click on Import Tab on Top area
- You can Find Db file in Downloaded source code Select it.
- Then Click on Go.
How To Download and Use this Source Code
[aio_button align=”none” animation=”none” color=”red” size=”medium” icon=”none” text=”Download Now” relationship=”dofollow” url=”https://www.sourcecodessite.com/wp-content/uploads/2018/10/crud-uirouter.zip”]
If you facing any type of problem with this source code then you can submit a Comment.